

How to make a decorative felt Easter egg?
Oct 13, 2025
Hey there! Easter's just around the corner, and what better way to celebrate than by making some super cute decorative felt Easter eggs? As a decorative felt supplier, I've got tons of tips and tricks to share with you on how to create these charming little eggs.
Getting Started: What You'll Need
First things first, let's talk about the materials. You're gonna need some felt. Now, I offer a wide range of felt for all your decorative needs. Whether you're looking for Carpet Backing Wool Felt, which is super soft and durable, or The Walls with Chemical Fiber Felt, that gives a unique texture, I've got you covered. You can also choose Wall Decoration Wool Felt for a more luxurious look.
Besides the felt, you'll need some basic tools. A pair of sharp scissors is a must. You don't want to end up with ragged edges on your eggs. Glue is another essential item. I recommend using a strong craft glue that dries clear. And if you want to add some extra bling, you can grab some beads, sequins, or embroidery floss.
Step 1: Cutting the Felt
The first step in making your decorative felt Easter egg is to cut the felt into the right shape. You can use a template if you're not confident in free - hand cutting. Just draw an egg shape on a piece of paper, cut it out, and then use it as a guide on your felt.
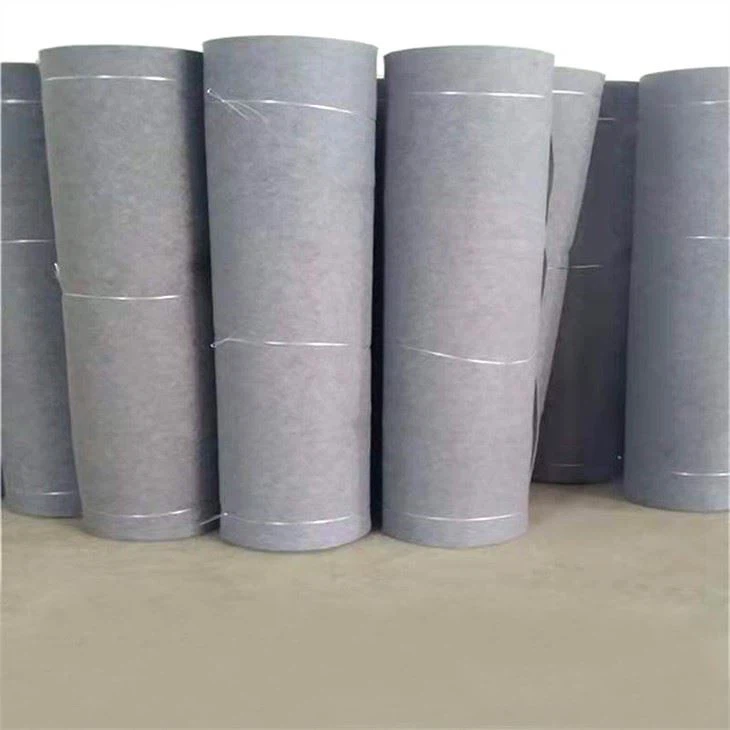

I usually cut two identical egg shapes from the felt. Make sure they're big enough to cover the size of egg you want to create. You can make them small for tabletop decorations or larger for hanging ornaments.
Step 2: Decorating the Felt
Now comes the fun part - decorating! There are so many ways to make your felt eggs stand out. One of the simplest ways is to use embroidery. You can stitch little patterns like flowers, hearts, or Easter bunnies on the felt. Just thread your embroidery floss through a needle and start stitching away.
If you're not into embroidery, you can use glue to attach beads and sequins. Arrange them in different patterns, like stripes or dots. You can also use fabric paint to add some bright colors and designs. Just make sure to let the paint dry completely before moving on to the next step.
Step 3: Assembling the Egg
Once your felt pieces are all decorated, it's time to assemble the egg. Take your two cut and decorated felt pieces and place them together, with the decorated sides facing each other. Then, use your glue to carefully attach the edges together. Start from the top of the egg and work your way down, making sure to press the edges firmly to ensure a good bond.
If you want to make a hollow egg, you can stuff it with some cotton balls or polyester fiberfill. This will give it a nice, plump look. Just leave a small opening at the bottom, stuff it, and then glue the opening shut.
Step 4: Adding the Finishing Touches
To make your Easter egg even more special, you can add some finishing touches. You can tie a ribbon around the top of the egg to make it into a hanging ornament. Or, you can attach a small loop of string to the back so you can display it on a wall.
You can also create a little stand for your egg. Cut a small piece of felt in a circular shape and glue it to the bottom of the egg. This will keep it stable when you place it on a table.
Different Styles of Decorative Felt Easter Eggs
There are so many different styles of decorative felt Easter eggs you can create. For a rustic look, you can use natural - colored felt and add some twine or jute accents. You can also stitch on some dried flowers or leaves for an earthy feel.
If you prefer a more modern style, you can use bright, bold colors and geometric patterns. Use silver or gold sequins for a glamorous touch.
For a traditional Easter look, you can go with pastel colors and classic Easter motifs like chicks, eggs, and bunnies. Embroider these images on the felt or use iron - on transfers for an easier option.
Why Choose My Decorative Felt?
As a decorative felt supplier, I take pride in offering high - quality felt. My felt is made from the best materials, so it's soft, durable, and easy to work with. Whether you're a beginner or an experienced crafter, you'll find it a joy to use.
I also offer a wide variety of colors and textures. You can mix and match different types of felt to create unique and personalized Easter eggs. And if you need a large quantity for a big project, I can provide bulk orders at a great price.
Conclusion
Making decorative felt Easter eggs is a fun and rewarding activity. It's a great way to get into the Easter spirit and create beautiful decorations for your home. With the right materials and a little creativity, you can make eggs that are truly one - of - a - kind.
If you're interested in purchasing felt for your Easter egg projects or any other decorative needs, don't hesitate to reach out. I'm always happy to help you find the perfect felt for your next craft. Whether you're a small - scale crafter or a large - scale event planner, I've got the products and expertise to meet your requirements. Let's work together to bring your creative ideas to life!
References
- Crafting magazines for Easter decoration ideas
- Online craft communities for tips and inspiration on felt crafting