

How to make a decorative felt hair accessory?
Aug 07, 2025
Hey there, fellow DIY enthusiasts! If you're like me, you love adding a personal touch to your outfits, and what better way to do that than with a handmade decorative felt hair accessory? As a supplier of high-quality decorative felt, I've seen firsthand how versatile and fun this material can be. In this blog post, I'll walk you through the steps of creating your own unique felt hair accessory, from choosing the right materials to adding those final, eye-catching details.
Step 1: Gather Your Materials
Before you start crafting, you'll need to gather a few essential materials. Here's what you'll need:
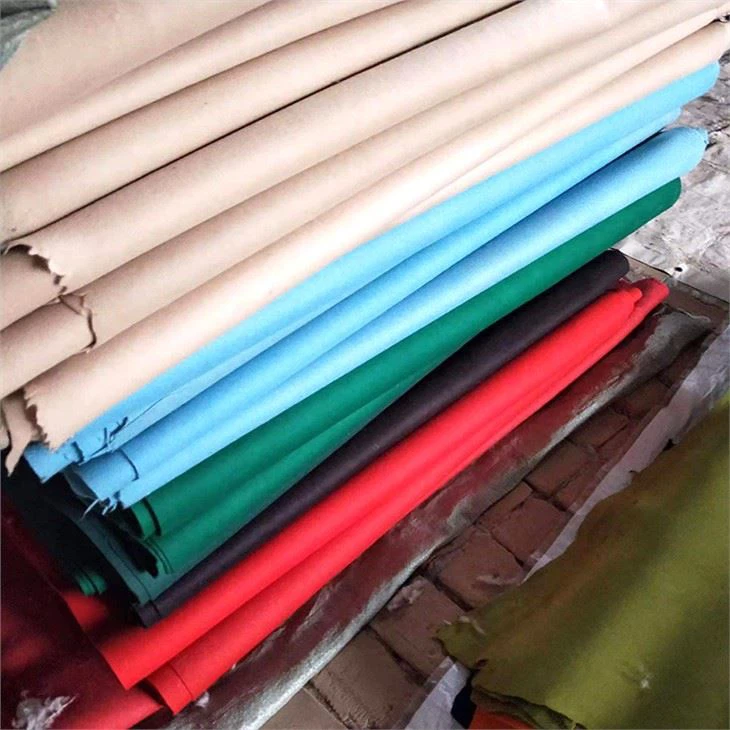
- Decorative Felt: This is the star of the show! As a decorative felt supplier, I can tell you that there are endless options when it comes to colors, textures, and patterns. You can choose from wool felt, like our Wall Decoration Wool Felt, or chemical fiber felt, such as The Walls with Chemical Fiber Felt or Carpet Backing Chemical Fiber Felt. Pick a color and style that matches your personal taste and the look you're going for.
- Scissors: A good pair of sharp scissors is essential for cutting the felt cleanly and precisely.
- Needle and Thread: You'll use these to sew the felt pieces together and attach any additional embellishments. Choose a thread color that complements your felt.
- Embellishments: This is where you can really get creative! You can use beads, sequins, buttons, ribbons, or any other decorative items you like to add some sparkle and personality to your hair accessory.
- Hair Clip or Headband: Depending on the type of hair accessory you want to make, you'll need a hair clip or headband to attach the felt to. You can find these at your local craft store or online.
Step 2: Design Your Hair Accessory
Now that you have all your materials, it's time to start designing your hair accessory. You can draw a sketch on a piece of paper or just let your creativity flow and cut the felt into different shapes and sizes. Some popular shapes for felt hair accessories include flowers, bows, leaves, and hearts. You can also experiment with layering different colors and textures of felt to create a more dimensional look.
Step 3: Cut the Felt
Once you have your design in mind, it's time to start cutting the felt. Use your scissors to carefully cut out the shapes you've drawn or envisioned. Make sure to cut the felt pieces a little larger than you need, as you'll need some extra material to sew them together.

Step 4: Sew the Felt Pieces Together
Now that you have all your felt pieces cut out, it's time to start sewing them together. You can use a simple running stitch or a more decorative stitch, depending on your preference. Start by sewing the edges of the felt pieces together, making sure to leave a small opening for turning the piece right side out. Once you've sewn the edges together, turn the piece right side out through the opening.
Step 5: Add Embellishments
This is the fun part! Use your needle and thread to attach the embellishments you've chosen to your felt hair accessory. You can sew on beads, sequins, buttons, or ribbons to add some sparkle and personality. You can also use hot glue or fabric glue to attach larger embellishments, such as flowers or bows.
Step 6: Attach the Felt to the Hair Clip or Headband
Once you're happy with the way your felt hair accessory looks, it's time to attach it to the hair clip or headband. You can use a needle and thread to sew the felt to the clip or headband, or you can use hot glue or fabric glue to attach it. Make sure to attach the felt securely so that it doesn't come off when you wear it.
Step 7: Final Touches
Before you wear your new felt hair accessory, take a few minutes to give it a final once-over. Trim any loose threads or edges, and make sure all the embellishments are securely attached. You can also add a little bit of hairspray or other styling product to help keep the accessory in place.
Tips and Tricks
- Use a Template: If you're not confident in your drawing skills, you can use a template to help you cut out the felt shapes. You can find free templates online or at your local craft store.
- Experiment with Different Techniques: There are many different ways to sew and embellish felt, so don't be afraid to experiment and try new things. You can use embroidery stitches, appliqué techniques, or even use a sewing machine to create a more professional-looking finish.
- Match the Embellishments to the Felt: When choosing embellishments, make sure they match the color and style of the felt. This will help create a cohesive and polished look.
- Have Fun: The most important thing is to have fun and let your creativity shine! Don't worry if your first attempt doesn't turn out perfect. With a little practice, you'll be able to create beautiful felt hair accessories that you'll be proud to wear.
Conclusion
Making your own decorative felt hair accessory is a fun and easy way to add a personal touch to your outfits. With a little bit of creativity and some basic sewing skills, you can create a unique and stylish hair accessory that will make you stand out from the crowd. As a decorative felt supplier, I'm always here to help you find the perfect felt for your next project. If you have any questions or need some inspiration, don't hesitate to reach out. We're happy to assist you in your creative journey and help you source the best decorative felt for your needs. Whether you're a professional crafter or just starting out, we have a wide range of felt products to choose from. So why wait? Start creating your own felt hair accessories today and let your personality shine! If you're interested in purchasing our decorative felt products for your next project, feel free to contact us for more information and to discuss your specific requirements. We look forward to hearing from you and helping you bring your creative ideas to life.
References
- Craft magazines and websites for inspiration and additional tips
- Local craft stores for materials and advice